Monday, October 3, 2011

Handmade for a Cure

October is Breast Cancer Awareness month. This month really hits home for me since my grandma is a Breast Cancer Survivor (High 5 nana!)

I know there are people out there that are not as lucky as me and know loved ones who unfortunately could not beat this battle.

I was trying to think what I could do to help. So for the month of october I am selling this limited edition 5x7 print in my shop. 30% of all profits from this print will go to the Susan G. Komen foundation to help aid them in finding a cure for this disease.
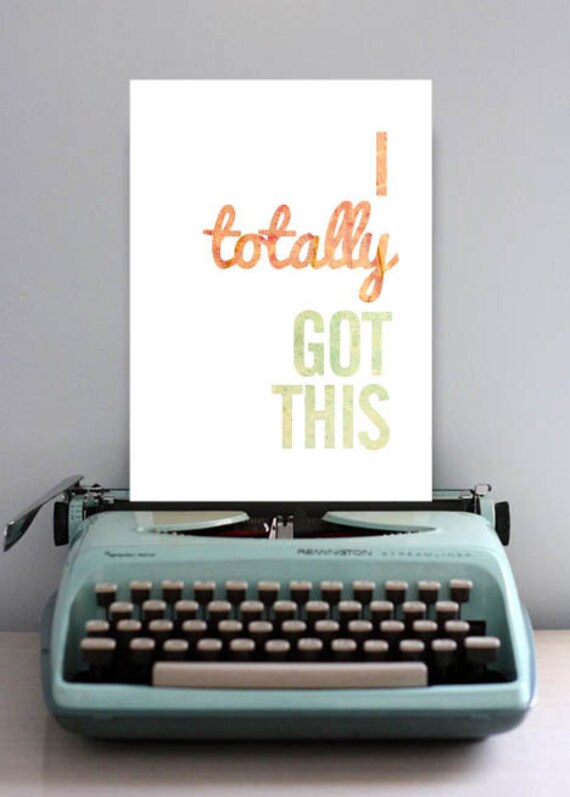

I wanted the print to be an inspiring saying so that everyone can enjoy it while still donating to the cause. The saying "I totally got this" can be taken many ways. Maybe you are a breast cancer survivor yourself and you found yourself telling everyone "Oh guys, I totally got this". Or maybe you're a new mom introduced to motherhood, and while looking at your new little baby you're thinking to yourself "ok, I'm really scared, I'm really petrified, but I totally got this". Or maybe someone like me who is thrown into having my first "real" place on my own and in the middle of unpacking and swimming in a sea of bills (and bills and bills and bills) I stop, take a deep breath, count to 10 and say to myself "Self, you totally got this--now MAN UP WOMAN".

I really need to work on little pep talks to myself…

Also my friend Melis from Mila Rose Designs is participating in Breast Cancer Awareness Month as well! Her campaign is "Buy A Band, Save A Boob" (ha, doncha love her?) Here is her promo:
1) 10% of every order will be donated to Susan G. Komen to help find a cure for breast cancer!
2) Use code PRETTYINPINK for free shiping all month long!!!
3) If you spend $100, not only is $10 of that going to help save lives, but you will also get a free headband!!!!"

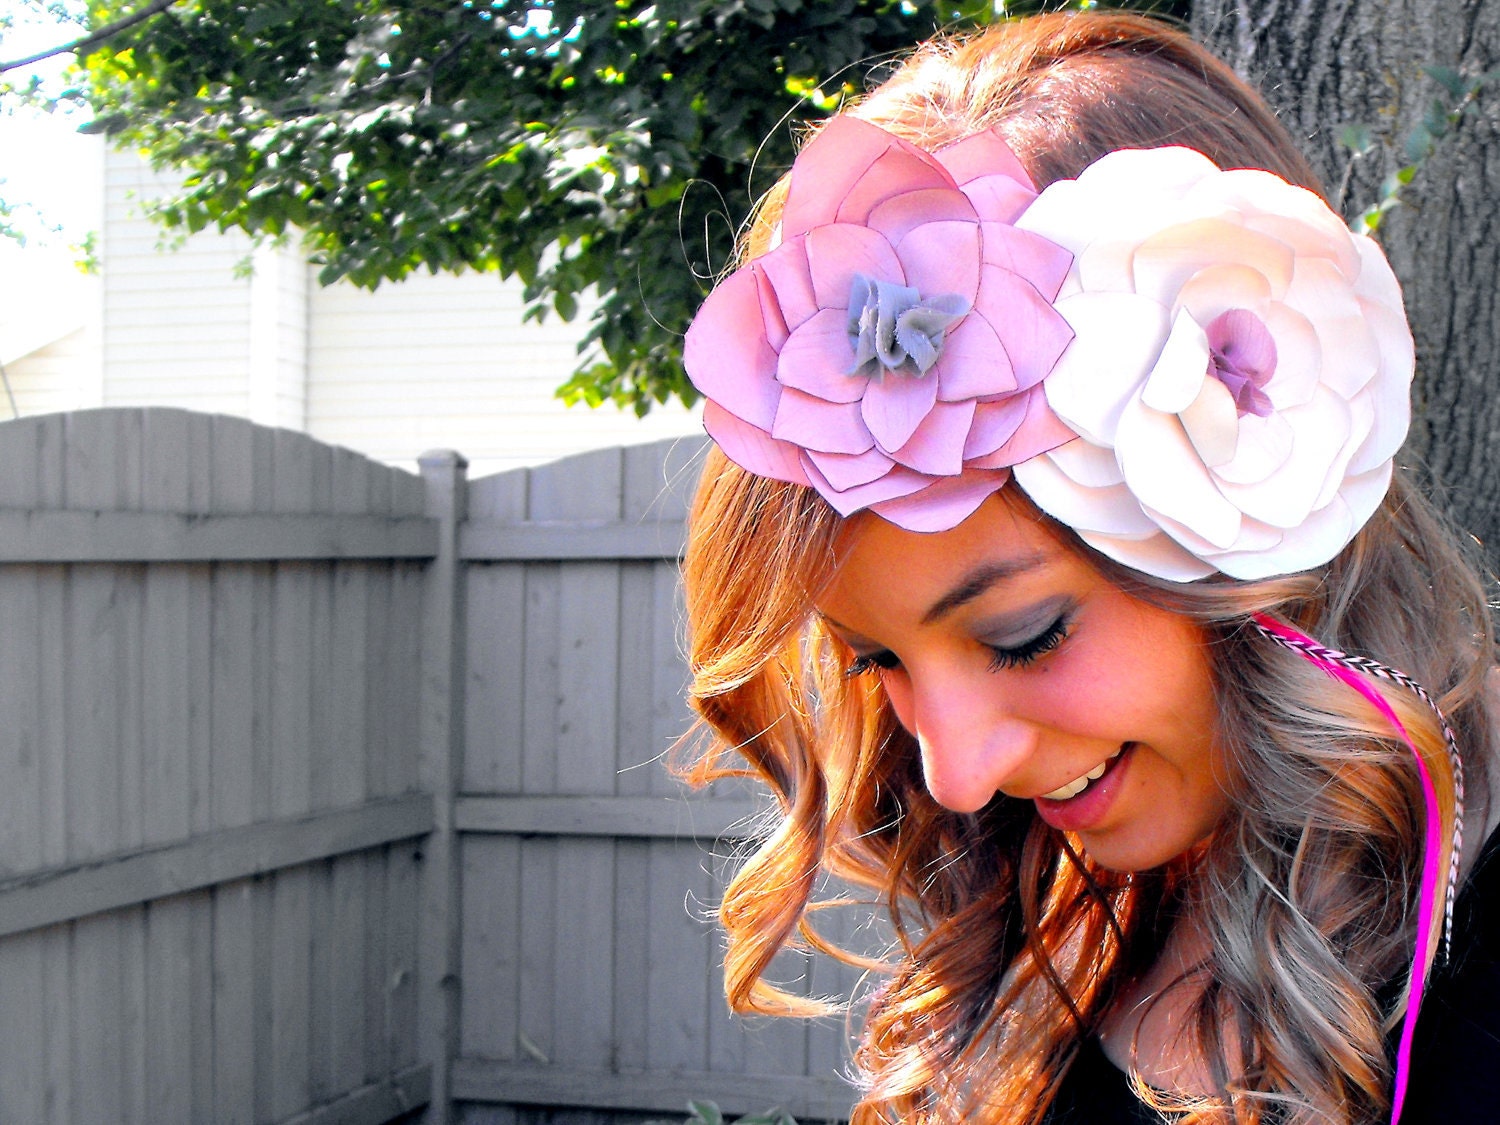
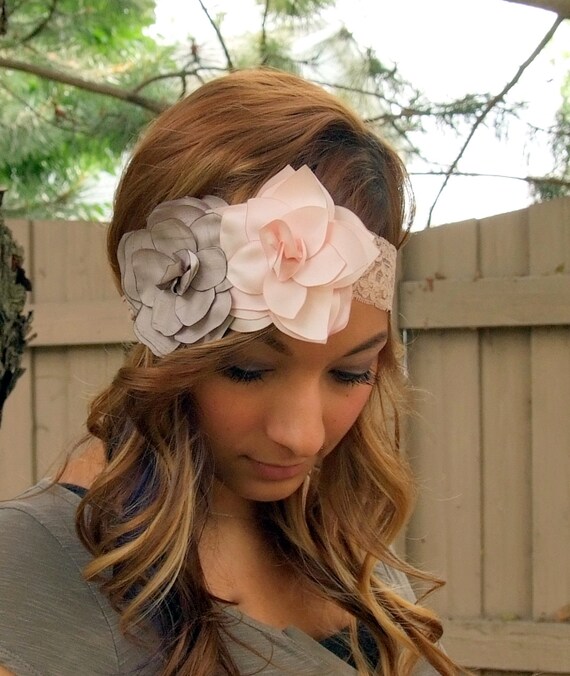
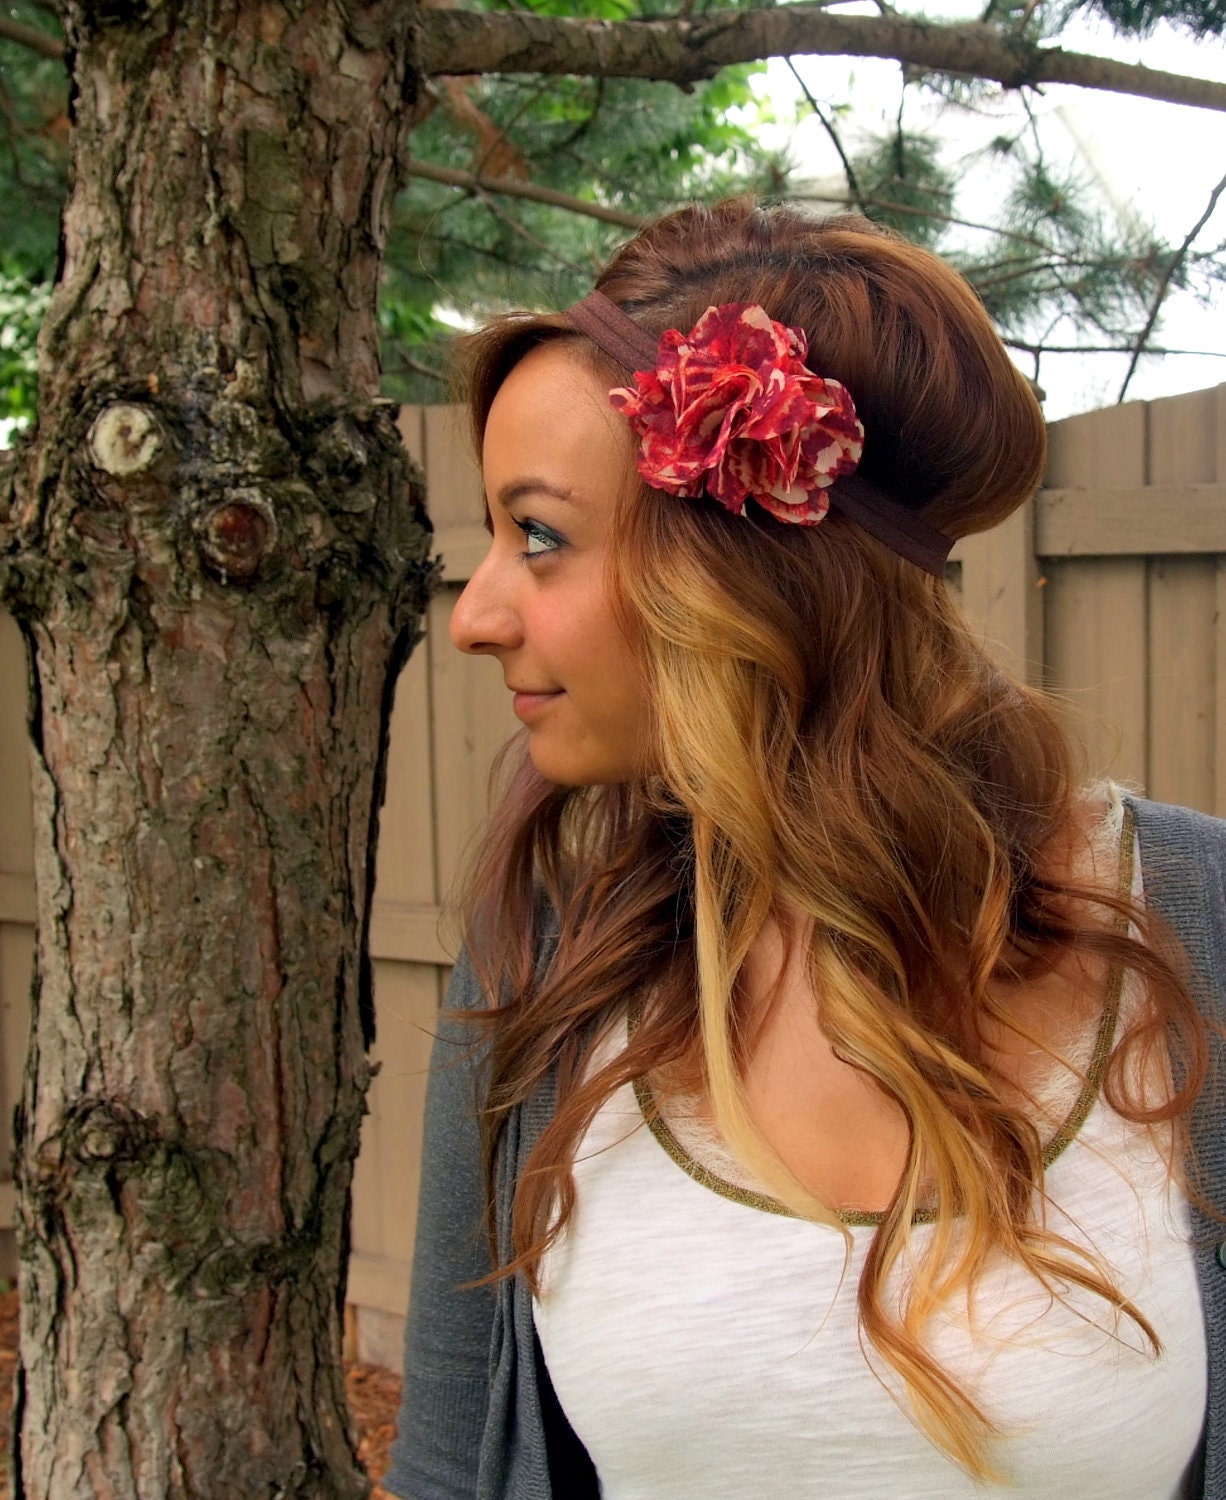
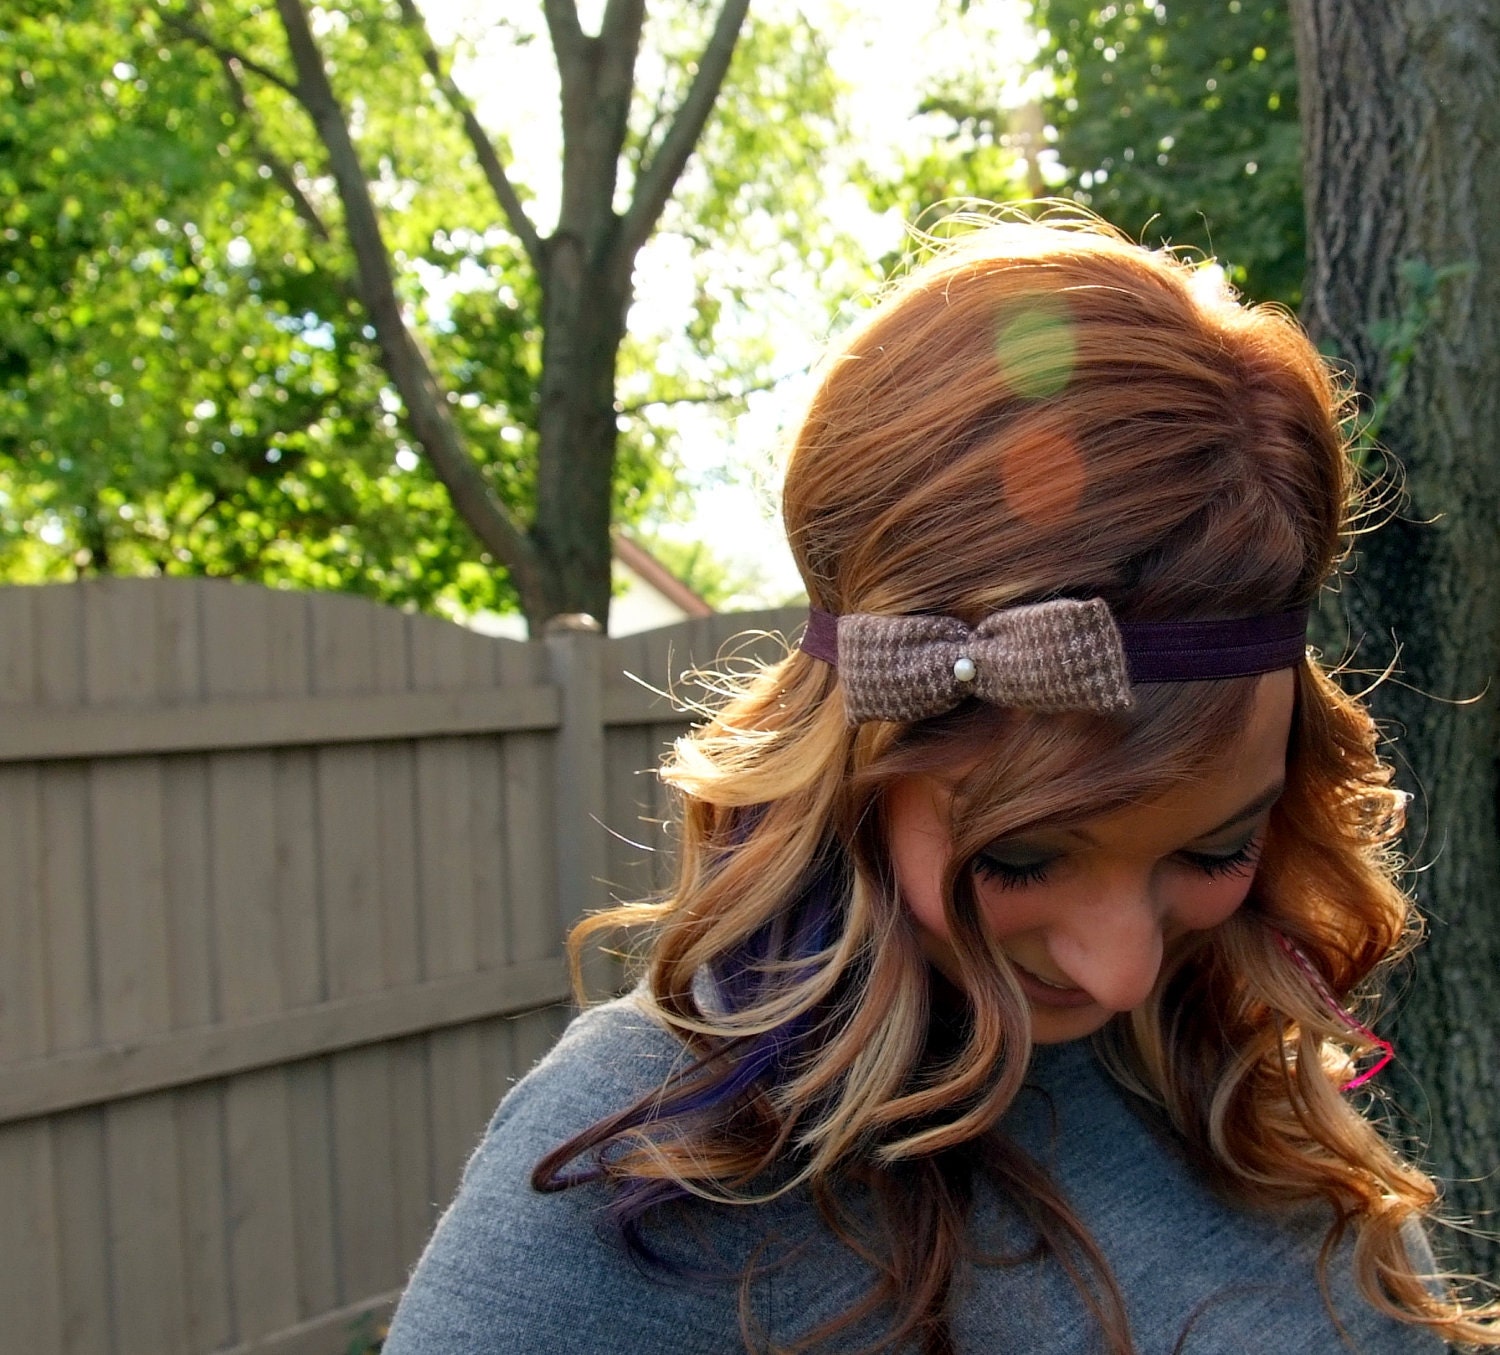
Trust me, if you have been stalking eyeing a Mila Rose Lovely NOW is the time to buy it. I don't know what more of an incentive you need rather than helping an AMAZING cause, free shipping, and potentially scoring ANOTHER Mila Rose Headband with any purchase of $100 and over! Check out some of her pretty swag.


Thank you to those who have already purchased my print! Let's find a cure!


Friday, September 30, 2011

Friday Faves the Fashion Edition!

Sorry for being totally and completely MIA on you guys yesterday! But today I am back (i know you can let out that lil sigh of relief now) and I am so stoked to introduce you guys to the lovely Caroline of Good Times Never Seem Sew Good.

Caroline has a cayoote lil shop that I think you all will totally swoon over. She makes fun scarves and even funner aprons. (is "funner" ok to say? or did just make up  my own language) the aprons are perfect for someone like me who can't cook BUT can fool people by looking like susie home maker in the kitchen. They'll be all like "daaaaymn check out her apron yo, she must be a bad ass in the kitchen".

clearly.

Anyway, thanks Caroline for sharing some of your friday faves with our readers! aaaand go!

Oh, I almost forgot. Some of you lovely folks were entered to win some cupcakes from Stay Calm Cupcake. the winnah isssssssss


 SANDY!!! Holla atcha girl ;) yellowheartart at gmail dot com.


Hi lovies. I'm Caroline & I blog over at Good Times Never Seem Sew Good. Come visit me & you'll get to read about my life as a newlywed, my crafty projects, my favorite recipes, and my attempt at being fashionable~ I'd love for you to come stop by!

While Leonora is moving into her new place she asked me to write up a lil guest post for her bliggity blog. I of course obliged :) 

I would by no means deem myself a fashionista, but I do like to dabble in clothing & I love challenging myself with what I wore Wednesday posts. I try to use the clothes in my closet to create new and interesting outfits each week (without repeating them!!). It's really not an easy task for me sometimes, but I love the challenge & I love making my husband take the photos of me- ha ha!

Here are a couple of outfits that I might dare to wear.

The first is pretty subdue, and the second is a little... funky. I wish I had the guts to wear it~ maybe one day ;)

fall wears


funky fall wears


If you are a lover of fashion, have you heard of Polyvore? (um probably, since most of you don't live under a rock, but just checking ;)) You can create your own outfit sets~ its kind of addicting :)

Hope you all are having a fabulous week! xoxo~ Caroline

Wednesday, September 28, 2011

What We Ate Wednesday! (On Yellow Heart Art's Turf!)

This needs to be said.

I, Leonora Jennifer, have a mega girl crush on my home girl Amy.

Amy and I have been bloggie BFFs since the dawn of time (well, my definition of "the dawn of time" is January, but just go with it)

One time there was a lil etsy shop that had only 2 sales. This little etsy shop had big dreams, high hopes and a ton of anxiety. Some lovely lady came along and gave "the little shop that could" 2 more sales. Since then the lady and the shop owner have been homies for lyfe.

and this just in: These 2 gangstas get to party like rock stars in 2 weeks when I go to disney! Can ya tell I'm a wee bit stoked? I'm not sure how one party likes a rock star in a place where you legally can't die. (No, i'm serious, disney says you can not die on their property. They will drag you off their grounds and declare you dead there. Weird or awesome? You decide.)
Now that I left you with that incredibly unsettling yet completely random factoid please enjoy some more good eats where Amy guest blogs her "What We Ate Wednesday" Post over here on Yellow Heart Art's turf!

Personally I just think she feels bad for the bubs and wants me to attempt to cook an easy peasy dish for him. Apparently toasting some bread and throwing butter on it isn't a "gourmet meal" (who knew?) (sorry bub)

aaaand GO!

(OH HEY! Almost forgot. In case you missed it there is a giveaway goin' on here for FAH-REE cupcakes! eff are ee ee that spells F-R-E-E. Enter here!)

(Apparently I'm not done with the parenthesis game, if you wanna be the firs to know about our grand re-opening in Mid/late october as well as receive exclusive coupon codes and promos then sign up for our News Letter! Trust me, if you get one a month consider yourself lucky, thats really pushin' it for us ha)

(ok, Amy, you can really go now…)


Yo fellow Yellow Heart Art lovers!
Its me Amy from Buggie and Jellybean, my little nook of the internet where I share
my day to day life of raising Buggie and Bean, the little DIY's that fill my day, and snippets of my life as SAHMomma.
Hey look its me!

Today I am honored, privileged, blessed, overly excited, thrilled, and I ran out of adjectives to be guest blogging for Leo, while she gets her new digs together. Every Wednesday on my blog we have "What we ate Wednesday", see because I was not able to participate in "What I wore Wednesday" since my days consist of moving from one pair of sweat pants to another, I could share what we ate. Today I am sharing a super de duper easy crock pot recipe, Santa Fe Chicken.

Here is what you need:
- 1.5 lbs of chicken breast
- 15oz can of black beans
- 14.5 oz can of diced tomatoes
- 8oz bag of frozen corn
- 1/4cup chopped fresh cilantro {or 2tbsp dried}
- 14.5 oz can chicken broth
- 1 tsp garlic powder
- 1 tsp onion powder
- salt
- package of yellow rice
For toppings:
- avocado
- sour cream
- shredded Mexican cheese
- a lime

Please over look my crusty crock pot, mkay.
Ready for this recipe, it might put you over the edge with all the steps, ha:
- combine all the ingredients minus the rice and toppings ingredients in the bottom of the crockpot, stir well.
- place chicken on top
- cover and set for either low 10hrs or high 6.
*PHEW* that was intense, hope it was not too advance.

Then with one hour left in the cooking, remove the chicken shredded and add it back in to the pot. Cook your rice based on the timing of the cooking.

Then to serve scoop some rice in a bowl, top with Santa Fe Chicken, some sour cream, cheese, avocado and a lime wedge.


And sit back and enjoy that meal you SLAVED all day over!
This recipe was adapted from Marta's from Haus of Girls.
Thanks for having me over today!
Other ways of getting me into your life are as follows:
Come and Knock were I sell my goods.
And most favorite EVER, well besides my blog, INSTAGRAM @Bugandbeansmomma.
Hope to see you around!

Tuesday, September 27, 2011

Tutorial Tuesday! Make an awesome distressed frame! (Andrea Guest Posts)

The Guest Posts Continue!

You guys, these guest posters are uh-may-zing. I kinda feel like each one of them is kinda sorta a little piece of me. All the ladies I picked to do guest posts are all fun, quirky and down right AWE to the SOME.

I'll never forget stumbling upon Andrea's shop and being all like "ok, basically I need to clear off all my shelves in my apartment and make room for every.single.block.in.her.shop"

for reals guys. I even had Andrea whip up some custom pieces for mine and bub's new crib! BUT thats for another blog post ;) and no, you will not get it out of me. Not even tickling will work (ok, tickling will work, but please don't do that cause god thats torture--kinda weird how tickling is torture though. I mean, you are laughing the entire time--but its not a GOOD laugh its a OH GOD MAKE IT END laugh. ok moving on...)

I asked Andrea if she would ever so kindly do a DIY tutorial for you loves, and she was all like "uhh hell yeah!"

(no seriously, she was)

 and in case you've missed it on the blog, here are some fun things you should know:

• have an AMAZING giveaway going on here for some FREE homemade cupcakes delivered right to your door.

• bub and I have not killed each other yet during this move (rejoice)

take it away Andrea!


Hey all!
I'm Andrea, and I blog over at Bubblewrapp'd, and have an Etsy shop of the same name.


Soooo, while the lovely, AMAZINGLY talented Leonora is getting settled in to her new digs, I'm bringing you a DIY tutorial on how to make one of these {completely customized} chunky framed mirrors for yourself.


So without further ado...

Step 1.

Gather the players.


In my case, I am using a chunky frame {previously residing in my bedroom} that I originally picked up {unfinished} at Michael's for around $5. My mirror is going to get popped out of that black frame.

If you don't happen to have a frame on hand, you can either pick up an unfinished chunky frame from Michaels/Hobby Lobby/whatever. Orrrr... You can just get a piece of wood from Lowes/Home Depot/etc.... The hole in the middle is not necessary, so if you have a chunk of wood on hand, that will work just fine!

The mirror you can pick up at a Dollar Tree.

You're also going to need a pencil, a measuring tape {or ruler}, and paint {for your lettering or design}.

Okay, so the players are gathered...


Step 2.

Actually, there are a few parts to this step.

A. If your wood, or frame is unfinished, you''ll have to paint on your main frame color. In my case, my frame had already been painted white, so I was already good to go.

B. Decide what quote, song lyric, random thought, design, etc you want to put on your frame.

I decided on "This is the face of awesome." because then whoever looks in that mirror can say that about themselves :) and it's just funny, and we love some humor in this house.

C. Decide how tall you would like your letters or design to be.

D. Get out a ruler or measuring tape.


E. Make pencil marks at whatever measurement you've decided on for your word/design height.

F. Do the same on the other side of the frame.


Step 3

Using a ruler or some kind of straight edge, line up with the marks on both sides of the frame, and draw a light line across the frame with pencil.


Step 4.

Print out your wording/design in the size you've decided on for this project.


Step 5.

Turn your papers over, and using a pencil, color all over the backside of the printed letters/design.


Step 6.

Turn your paper right side up. Line up your words on your previously drawn lines, and trace the lettering with your pencil, or a pen. The pencil on the back side of the paper, will leave you with this.


Repeat the same method until all of your wording/design is traced onto the frame.


Step 7.

Pick your paint color, and paint the outlines using a thin paintbrush. Or, paint pens are great for this as well! But, I went with paint, and a tiny thin paintbrush this time myself.


Step 8.

Fill in the outlines.


Step 9.

Erase all remaining visible pencil marks.


Step 10.

Distress it!

This step is optional, but I wanted some distressing. So, I pulled out my "medium" grit sanding block, and went to town all over fairly lightly, but heavy on the edges.


Step 11.

Attach a hook of some sort.


Step 12.

Slip your mirror into the intended picture slot... Or, if you are using a solid piece of wood, get out some epoxy, and glue your mirror down {don't forget to let it set!}.

And finally...

Hang it up!


I hope ya'll enjoyed this project!

Thanks so much, Leonora for letting me share!

If you want check out some more of my projects, or complete randomness by me, you can find me over here.

And you can find me on Etsy here! :)